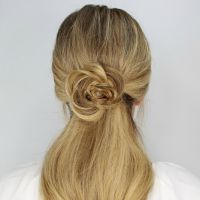
Rosette ponytail tutorial: Transition your summer ponytail to a feminine look for fall.
While it still may be blazing hot in most parts of the country, summertime is definitely winding down (Can we get an amen?!). Transition your summer ponytail to a new fall-inspired look with this rosette ponytail hair how-to. The perfectly feminine style keeps hair off your face with a half-up, half-down look. The best part, it’s easier to do than you think thanks to Latest-Hairstyles.com contributor Melissa Cook.
Here, she walks us through the steps to create the rosette ponytail yourself!
What you need:
- Hairbrush
- 2 clear elastic bands
- 4 to 5 bobby pins
- Medium hold hairspray
Here’s what you do:
Step 1
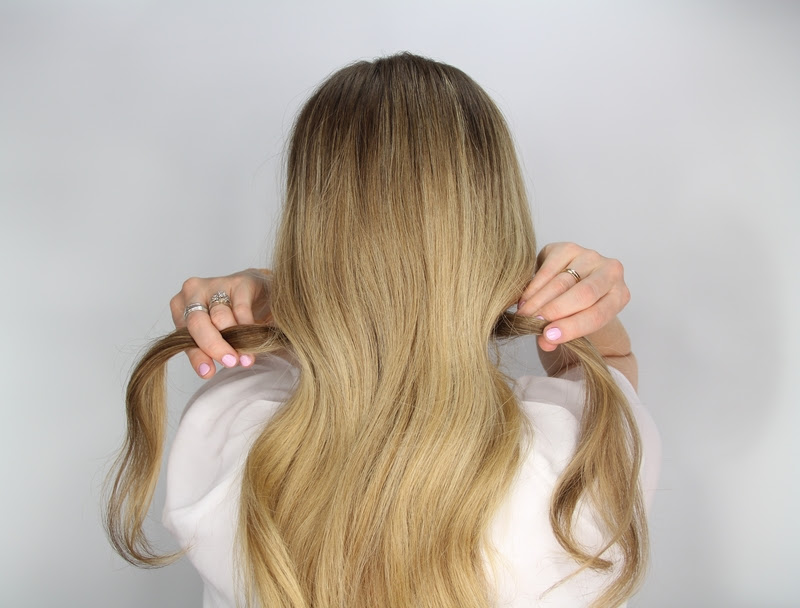
Begin by brushing through the hair to remove any tangles and part the hair in the preferred spot. Separate off small sections of hair on each side of the head.
Step 2
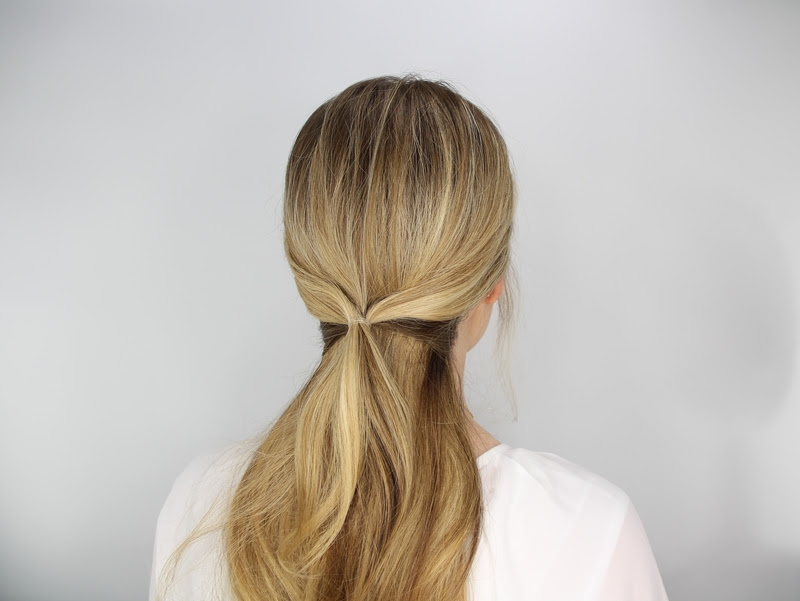
Bring the two sections to the back of the head and over the rest of the hair, then tie it together with an elastic hair band.
Step 3
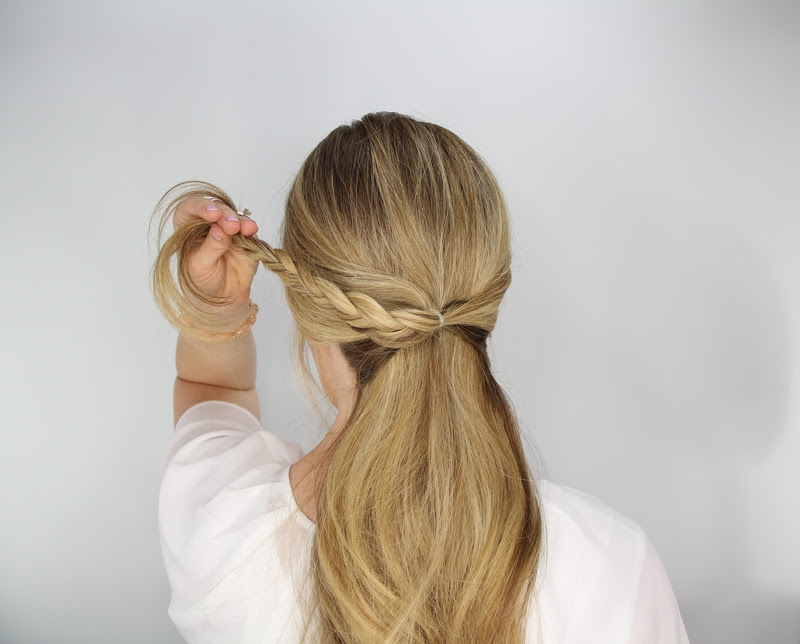
Now braid this small ponytail section into a basic three-strand braid and tie off the end with a second elastic band.
Step 4
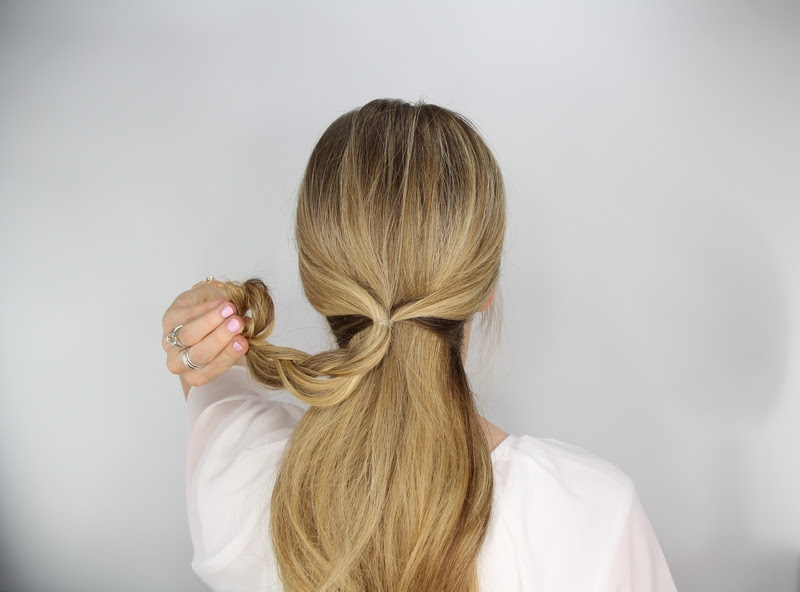
Roll the braid up and toward the elastic band at the top, creating a rosette shape.
Step 5
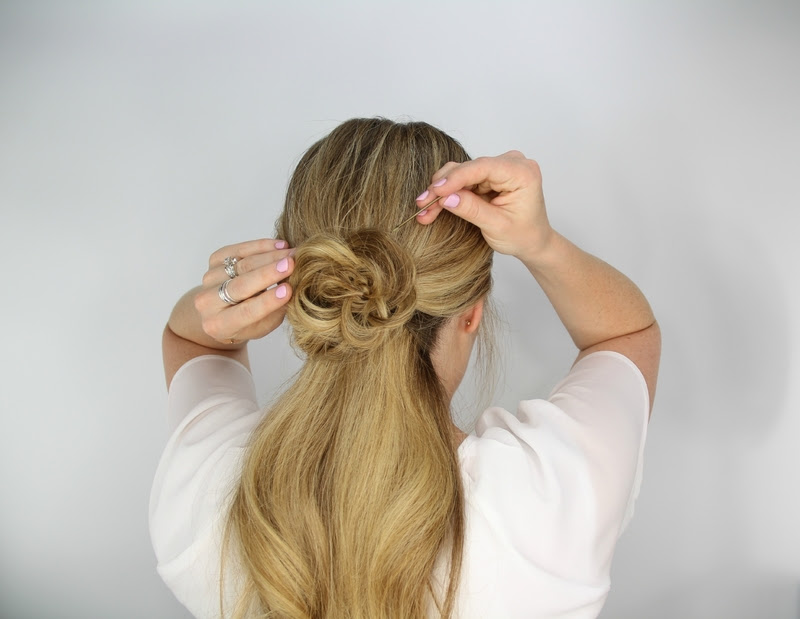
Pin down the edges of the rosette with bobby pins, making sure they are hidden underneath hair.
Step 6
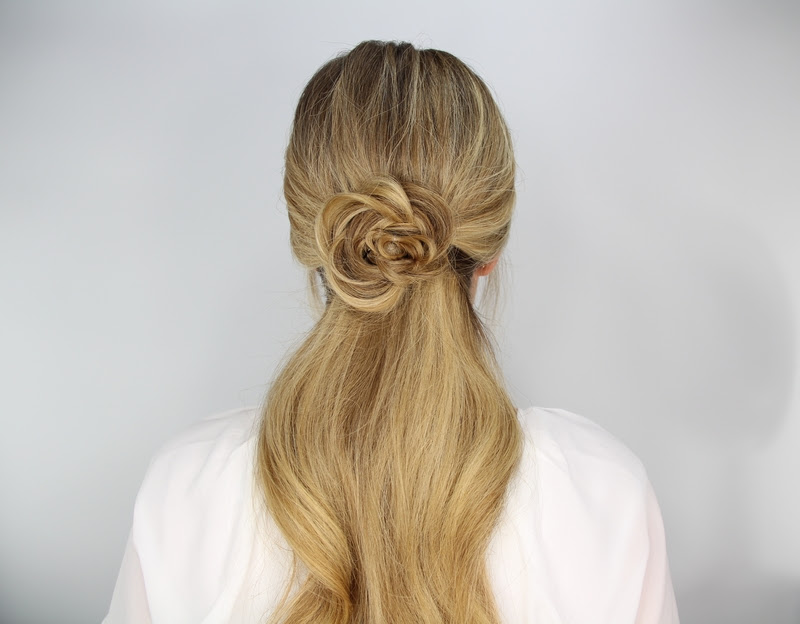
Spray the style with a medium hold hairspray and you are ready to go!
Watch the video:
Loved this rosette ponytail tutorial? Get more DIY ponytail ideas at www.latest-hairstyles.com.


Totally digging this? Do tell by commenting below.